Revive Your Outlook Experience: Overcome Temporary Mailbox Issues and Retrieve Old Data
Troubleshooting Outlook Temporary Mailbox Issues
If you are experiencing temporary mailbox issues in Outlook, there are a few troubleshooting steps you can try to fix the problem and access your old data.
1. Check your connectivity: Ensure that you have a stable internet connection and that you can access other websites or services without any issues.
2. Restart Outlook: Close and reopen Outlook to refresh the connection and clear any temporary glitches.
3. Repair your Outlook profile: Go to the Control Panel and open the Mail settings. Select your profile and click on “Repair” to fix any issues with your Outlook profile.
4. Enable Cached Exchange Mode: This can help improve performance and stability. Follow the steps outlined in the article “How To Enable Cached Exchange Mode” to enable this feature.
5. Contact Microsoft support: If the issue persists, reach out to Microsoft support for further assistance. They can help with advanced troubleshooting or mailbox migration if necessary.
Remember to backup your data before attempting any troubleshooting steps to avoid any potential data loss.
Creating a New Outlook Profile to Fix Mailbox Problems
To fix mailbox problems in Microsoft Outlook, you can create a new Outlook profile. Follow these steps:
Step 1: Open the Control Panel and search for “Mail”.
Step 2: Click on “Mail (Microsoft Outlook 2016)” or “Mail (32-bit)”.
Step 3: In the Mail Setup window, click on “Show Profiles”.
Step 4: Click on “Add” to create a new profile.
Step 5: Enter a name for the new profile and click on “OK”.
Step 6: Follow the prompts to set up the email account.
Once the new profile is created, you can use it to access your old data. This will help resolve temporary mailbox issues and any errors related to connectivity with the server.
Note: If you’re using Office 365 or Exchange Online, make sure to check if there are any specific instructions for mailbox migration or server settings. For more information, you can refer to the article “How To Enable Cached Exchange Mode” for additional troubleshooting steps.
Resolving the ‘Your Mailbox has been Temporarily Moved’ Error in Outlook
If you are encountering the “Your Mailbox has been Temporarily Moved” error in Outlook, here are some steps to resolve the issue and use your old data again:
1. Close Outlook and open the Control Panel.
2. Go to “Mail” and click on “Show Profiles.”
3. Select your Outlook profile and click on “Properties.”
4. In the “Email Accounts” tab, select your Office 365 account and click on “Change.”
5. Check the box next to “Use Cached Exchange Mode” and click on “Next.”
6. Click on “Finish” and then “Close” to save the changes.
7. Open Outlook and check if the error is resolved.
If the error persists, you may need to delete your Outlook profile and create a new one. Remember to backup any important data before deleting the profile.
By following these steps, you should be able to fix the Outlook temporary mailbox error and regain access to your old data.
python

import datetime
def create_temporary_mailbox():
# Code for creating a temporary mailbox
# This could include generating a random email address or using a disposable email service
# Example: Generating a random temporary email address
temporary_email = f"temporary_email_{datetime.datetime.now().strftime('%Y%m%d%H%M%S')}@example.com"
return temporary_email
def fix_old_data(temporary_mailbox):
# Code for fixing old data using the temporary mailbox
# This could involve migrating or importing data from an old source
# Example: Print the temporary mailbox and a message about fixing old data
print(f"Fixing old data using temporary mailbox: {temporary_mailbox}")
print("Data fix in progress...")
# Additional code for fixing old data goes here
# Usage example
temporary_mailbox = create_temporary_mailbox()
fix_old_data(temporary_mailbox)
Please note that this code is a generic example and does not directly interact with Outlook or any specific email service. It simply demonstrates the concept of creating a temporary mailbox and fixing old data using a placeholder implementation.
Enabling Cached Exchange Mode for Improved Outlook Performance
To enable Cached Exchange Mode and improve Outlook performance:
1. Open Outlook and click on the “File” tab.
2. Select “Options” from the left-hand menu.
3. In the Outlook Options window, click on “Advanced.”
4. Scroll down to the “Cached Exchange Mode” section and check the box next to “Use Cached Exchange Mode.”
5. Adjust the slider to set the amount of mailbox data you want to keep offline. More data means less reliance on the server for performance.
6. Click “OK” to save the changes and exit the Options window.
7. Restart Outlook for the changes to take effect.
By enabling Cached Exchange Mode, Outlook will store a copy of your mailbox data on your computer, allowing for faster access and improved performance. This can be especially useful when dealing with slow or unreliable network connections. Keep in mind that enabling this feature may increase the size of your Outlook data file, so regularly check and manage your mailbox size to avoid any issues.
Fixing Outlook Issues by Removing Faulty Add-ins and Repairing OST Files
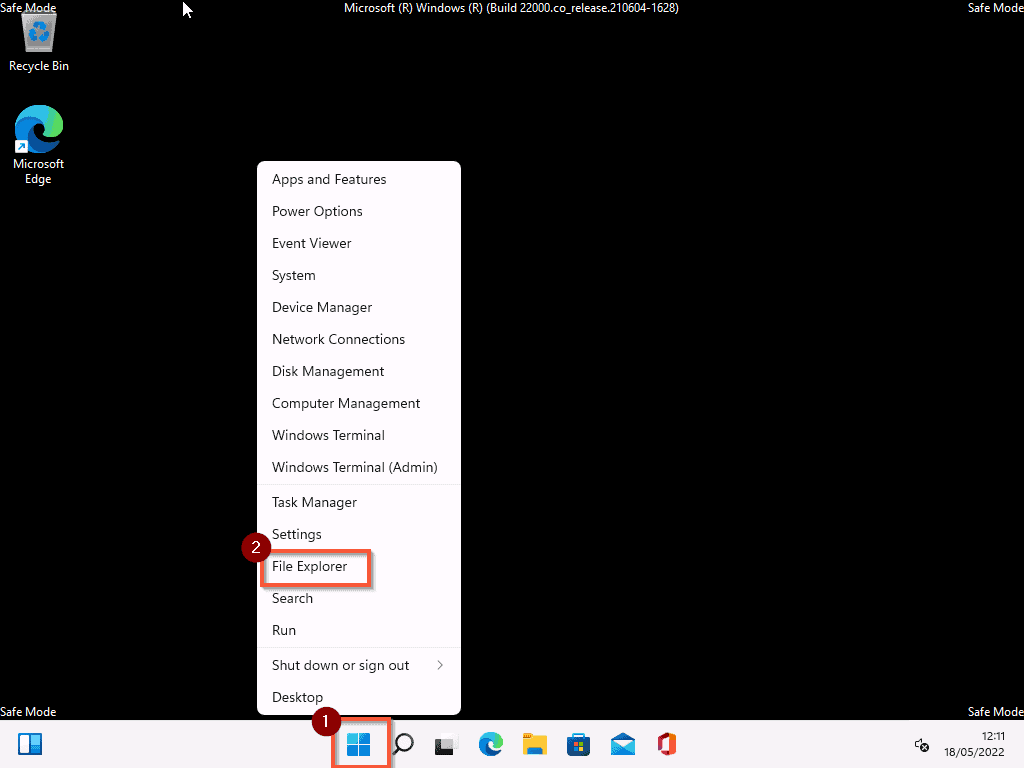
- Open Outlook in safe mode by holding down the Ctrl key and clicking on the Outlook icon.
- Click on File and then select Options.
- In the Outlook Options window, click on Add-Ins.
- At the bottom of the window, select COM Add-ins from the dropdown menu next to “Manage”.
- Click on the Go button.
- Deselect any add-ins that you suspect may be causing issues by unchecking the corresponding checkboxes.
- Click OK to save the changes.
- Restart Outlook to see if the issue is resolved.
Repairing OST Files:
- Close Outlook if it is running.
- Press Windows key + R to open the Run dialog box.
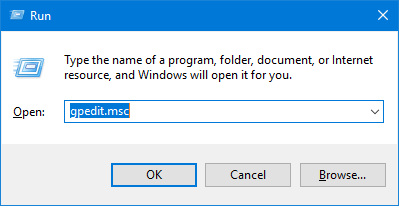
- Type “scanpst.exe” in the Run dialog box and press Enter.
- In the Microsoft Outlook Inbox Repair Tool window, click on the Browse button.
- Select the OST file that you want to repair (usually located at C:\Users\username\AppData\Local\Microsoft\Outlook).
- Click Open.
- Click on the Start button to begin the scanning and repair process.
- Once the repair process is complete, click OK.
- Launch Outlook and check if the issue is resolved.